Web3 is rapidly evolving, and so are the frameworks supporting it. Technically, what kind of a dApp you can build depends on what tools you use, and how big of a dreamer you are. Let’s explore today’s no-code tools that help us build dApps.
We will be building an NFT minting dApp including a smart contract and user interface without writing a single line of code, using ThirdWeb and Webstudio
Let's quickly study the Web3 stack (extracted from Alchemy) so we understand the new paradigm. In essence, Web3 provides internet native identity, computing, storage, and payment capabilities in a decentralized way. This simplifies a bit the stack since the public blockchains absorb most of the responsibilities.
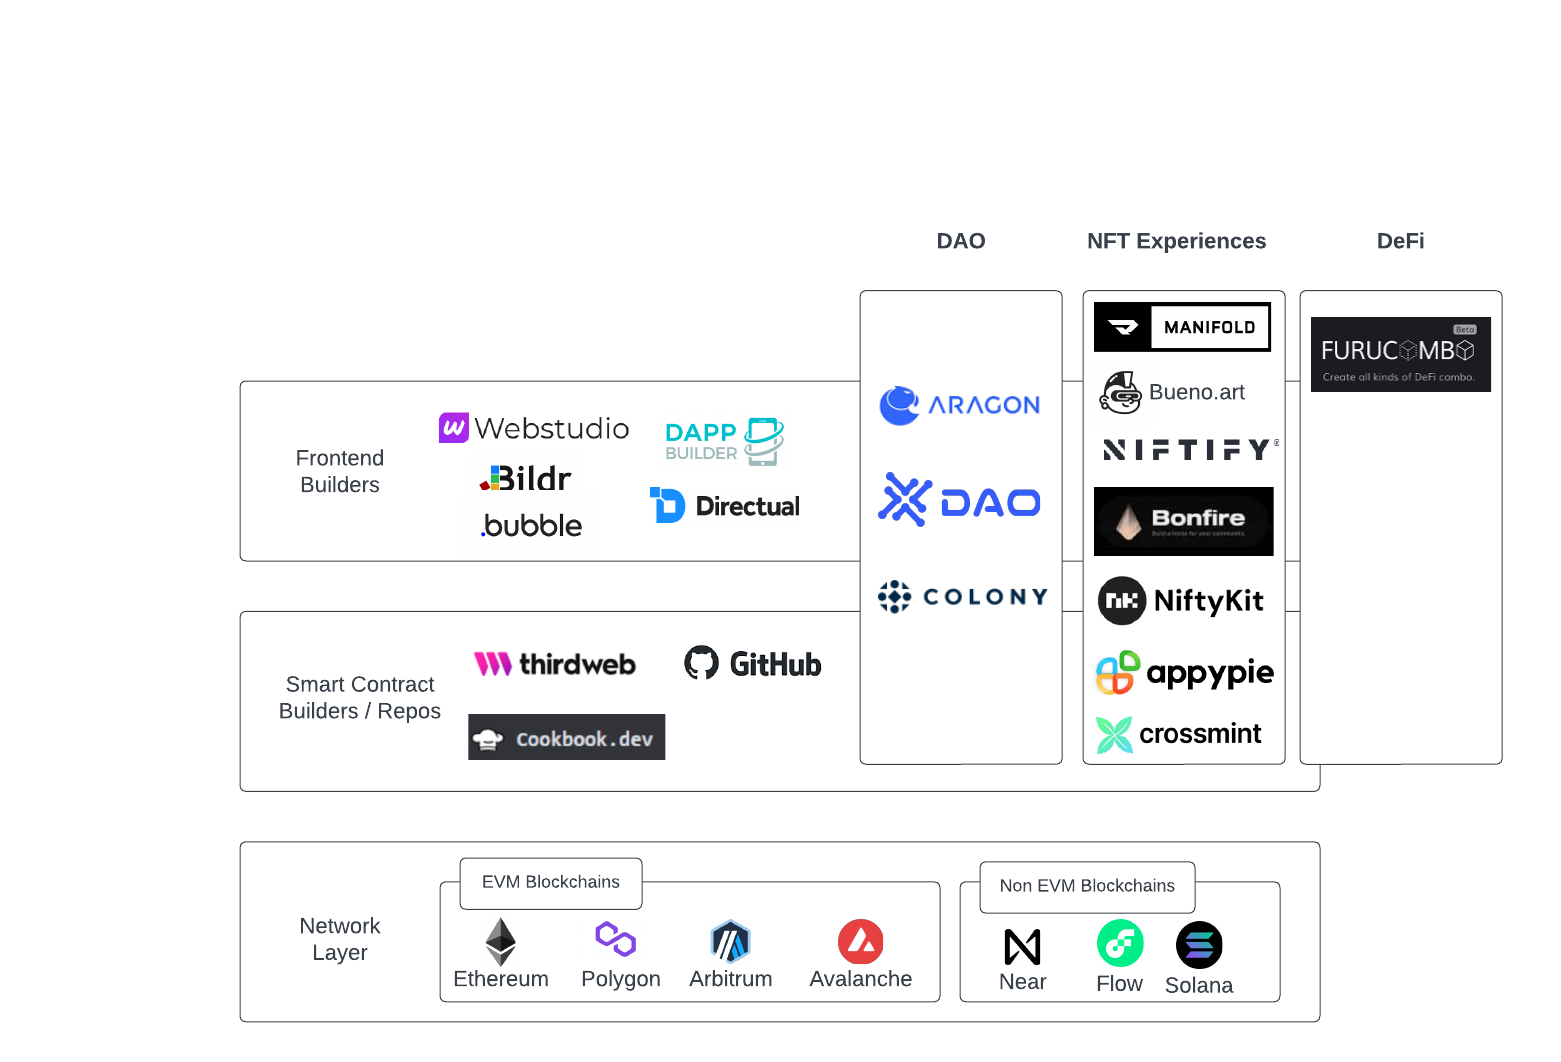
Today we are going to simplify the full Web3 stack and involve 3 layers. The Network layer where our logic will be executed, a smart contract building layer where contracts and logic will be crafted and configured. Finally, our frontend layer from where we will be interacting with our smart contract logic already running onchain.
At the base of the Web3 technology stack is the blockchain network layer. While Web2 applications rely on centralized databases, Web3 applications are built on top of blockchain architectures for trustless and permissionless access.
When picking a blockchain network for building decentralized applications (dApps), developers have two primary choices: Ethereum Virtual Machine (EVM)-compatible blockchains and non-EVM-compatible blockchains.
If you’re not familiar with how a blockchain works, here’s a quick recap.
1. The blockchain is made up of blocks of data.
2. Blocks are stored on distributed nodes.
3. Each node in a blockchain serves as a “mini-server” that allows its operator to read/write blocks of data.
4. Any blocks added to the blockchain must be propagated across all nodes on the network to be in sync.
With individual blockchains often having unique architectures and consensus mechanisms, they will inevitably be better optimized for particular use cases over others. As such, we are firm believers in a multichain Web3 future.
For smart contracts we will be widening a bit our definition of "no code" to include public repositories of smart contracts that are already written but may require deployment from the builder's side.
A popular platform is ThirdWeb, a low code development platform with their own Web3 SDK and libraries for many languages and ecosystems including Typescript, Python and Unity. Their Smart Contract launcher though, is fully no code, which means you can configure and deploy smart contracts that you own to many EVM compatible chains.
Many other platforms offer no-code smart contracts like Manifold and Bonfire but we will be addressing them in the next category of Dapp Builders since they go beyond and are able to create user interfaces on top of the contracts for users to interact with.
Cookbook.dev is one of my personal favorites, it is a large repository of smart contracts and include sources, information, abi, links to platforms where they can be launched if any, etc.
For obvious reasons Github is a as well a good source, it may require a bit more of scrutiny.
Dapp builders are platforms that provide functionalities that go just beyond smart contract creations and are often focusing on a specific functionality within the Web3 space. For example Aragon allows you to create and manage DAOs without code and includes both the smart contracts and managing interfaces.
Other examples like Webstudio.so and Bubble provide a more flexible approach to building as you may be able to interact with technically any smart contract.
We will be exploring a simple use case where we will create a smart contract using Thirdweb and connect it to a Webstudio.so application for minting.
We will create a traditional dApp for minting NFTs. We will launch a smart contract with ThirdWeb on the Goerli testnet and then build the dApp frontend using Webstudio drag and drop editor. When we launch our dApp, users will be able to visit your site and mint our NFTs.
Before we begin, make sure you have installed Metamask. You can download it from here.
Since we are going to be deploying contracts to Goerli Testnet, we will need funding from a testnet faucet. Head over to any faucet and request some GoerliETH to your wallet.
We will be launching our own NFT contract.
1. Go to Webstudio.so, create an account and navigate to the app.
2. Once in the app create a new project and select any template.
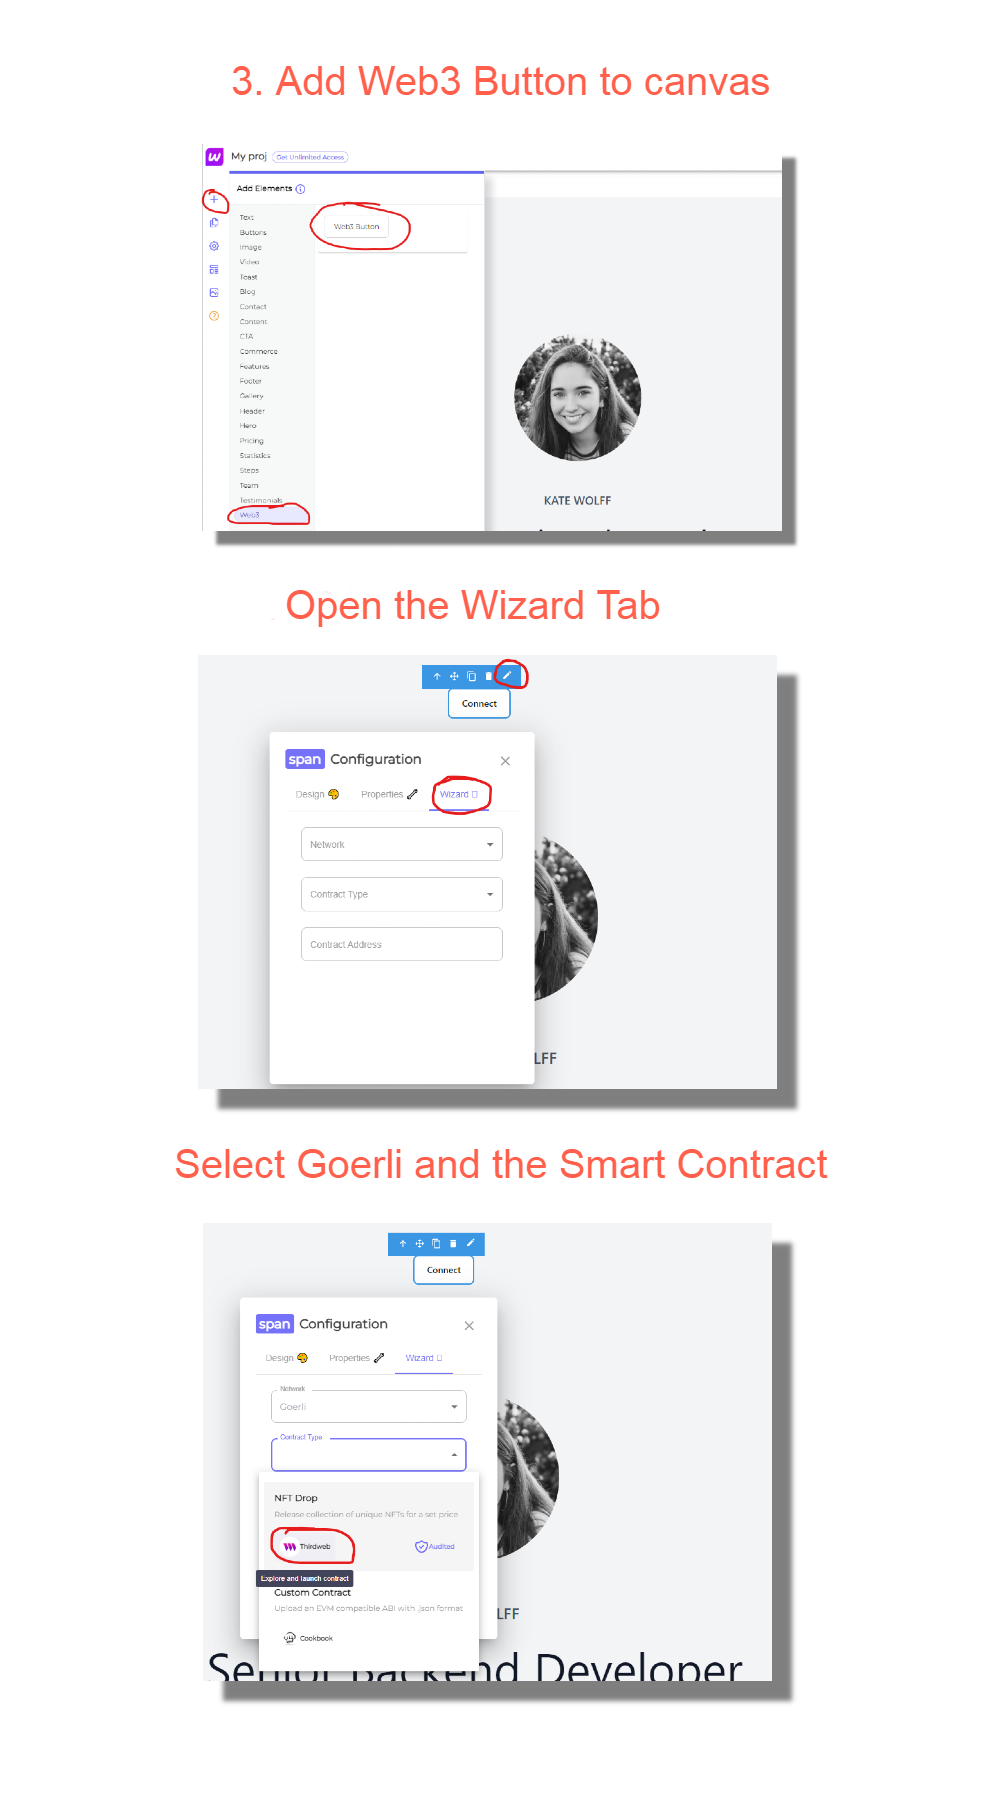
3. On the left menu click on the plus sign and add the "Web3 Button" to your canvas. It is located under Web3 Category.
Once you drop it, it will open a wizard for us to configure. If not, you can click on the edit "pencil icon" button while selecting the component and navigate to the Wizard tab on the modal.
4. Select "Goerli" network and on the contract type, click on the ThirdWeb button inside NFT Drop to launch that contract from the ThirdWeb dashboard. This will open a new tab and we will continue there. After we launch our smart contract we will return to Webstudio.
1. Navigate to the new tab and search for NFT Drop contract. You should be already on that page anyway.
2. Click Deploy now.
3. Fill in the Name, Description, Symbol and upload a square image. Remember to select Goerli network and click on Deploy now and make sure you have checked the option to add it to your dashboard!
Once the contract is deployed, we will be able to see it in our dashboard but we have a couple of more configurations to make. You see, we created a collection but now we need to prepare the metadata for the tokens that are going to be minted.
4. On the left menu, head over to "NFTs" and click on the button "Batch Upload" we will be uploading 100 metadata entries to create new NFTs under our collection. You can use our metadata file for this or create your own.
5. On the left menu, now go to "Claim Conditions" and click on "Add Phase" and make it public so we can all mint them.
Once you are done we are ready with our NFTs. We launched the collection contract, prepared the data for the next 100 mints and setup public the minting.
.png)
1. Navigate back to our Webstudio tab.
2. While on the Web3 button wizard select NFT Drop contract type.
3. On Contract Address, paste the address generate on the section before for your smart contract.
4. On the select function dropdown, select the method "claim".
5. You can leave the additional fields mapped as they are. If you are using a different chain than Goerli, or distinct parameters as the ones provided here you will need to adjust the attribute mapping.
6. Change to the Properties tab and configure the button label (what is displayed while the user is not connected) and the active label (what it displays when user is connected). You may leave the infuraKey empty to use Webstudio's default or use your own infura key.
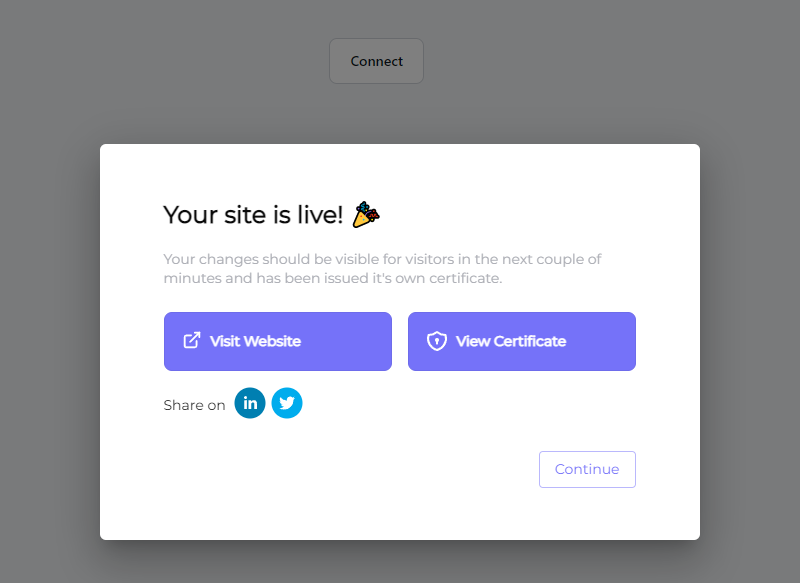
7. Finally click Publish on the top right corner and see and use your app to mint NFTs!